-40%
BlazeCut 3D Printer Fire Suppression System - Includes Mounting Hardware
$ 83.42
- Description
- Size Guide
Description
Shipping to US Only*Over the years 3D printers have gotten safer, but at 3DUPfitters we think of them as an oven: even though they are perfectly safe they're still not something you'd want to leave unattended. It's rare, but just like an oven, it's still possible for a 3D printer to catch on fire.
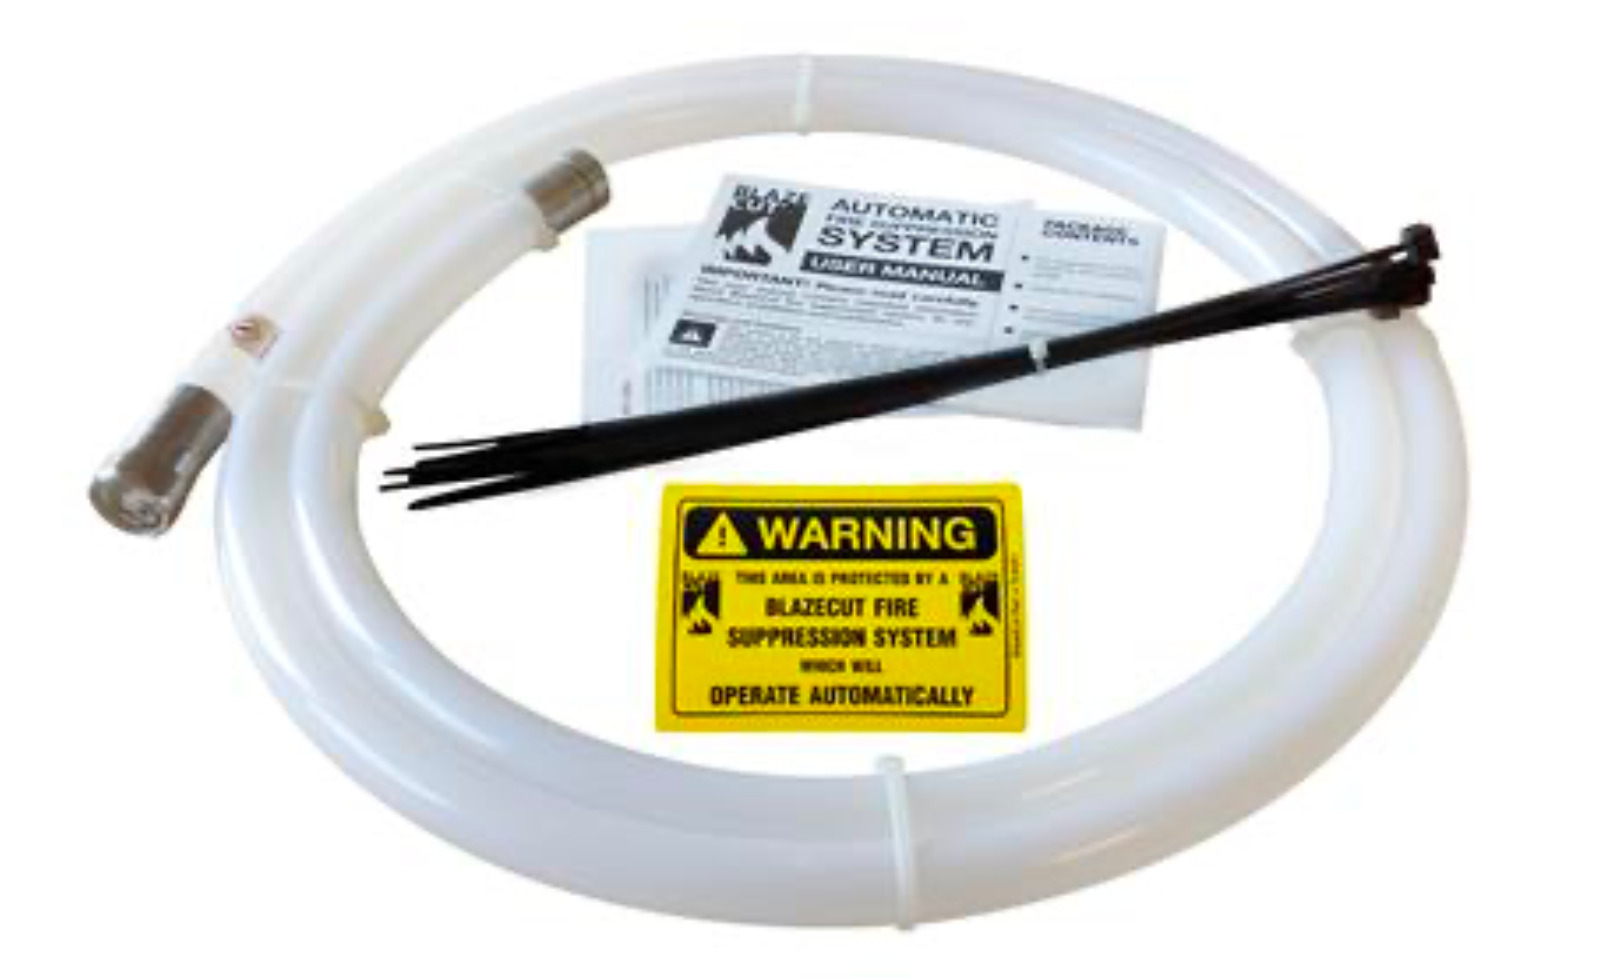
And that's where this cool device from BlazeCut™ comes in. The extinguishing agent is stored in a tube you attach to the top of your enclosure. When a fire occurs the heat causes the tube to rupture, releasing the extinguishing agent. There's no power supply, nothing to calibrate, just a tube you install with zip ties and plastic mounting pieces designed by 3DUPfitters.
Includes
BlazeCut automatic fire suppression system, two mounting brackets
4 M4 14mm cap head screws and 4 M4 nuts.
STLs to 3D print your own other mounting pieces
BlazeCut™ uses liquified gas, HFC-227ea fire extinguishing agent. The agent is a worldwide known and accepted gaseous clean agent used for total flooding fire suppression applications with very high effectivity, zero ozone depletion potential, and safe to people. It's really the best choice for 3D printer enclosures:
Electrical non-conductive
Non-corrosive
Resistant to temperature changes
Leaves no residue
Does not damage equipment or objects
Zero ozone depleting potential
The above video was from Blazecut and used the Lack enclosure, but we wanted to test it with one of our all-acrylic enclosures to see what would happen. Unfortunately, it's winter here and 32 degrees outside, so the temperature inside the enclosure took longer to heat up to the trigger temperature. On the other hand, it was a good torture test that shows the acrylic did not catch on fire despite there being a large fire inside. We also didn't put the fire right under the sensor, which also would have triggered it faster.
Get the Correct Size
The BlazeCut™ T series comes in three sizes with three different amounts of gas that are designed to work with different volumes. Please refer to the table below for details.
BlazeCut Size
Enclosure
T025E
Prusa MK3, Prusa MINI, Makergear M2/M3, LulzBot Mini
T050E
Ender 3, CR-6, Ender 5, LulzBot Taz6
T100E
Artillery X1/X2, CR-10, CR-10 Pro, CR-10 S4, CR-10 S5, CR-10 Max, Ender 5 Plus
For more information check out the or the .
Installation
The BlazeCut should be installed at the top of the enclosure, with the temperature sensor configured on the side of your printing containing the electronics since that's the most likely to catch on fire if there is one.
If you purchase a BlazeCut with your 3DUPFitters enclosure it will come with holes predrilled on the top and the plastic mounting pieces included. If you purchase these afterwards you'll need to drill holes yourself, and you can download the STLs for the mounting pieces.
This can either replace the existing mid-panel connectors, OR you can drill your own holes and place them anywhere. Here's an example of a customer who located their BlazeCut off T100E to the left:
